Any changes made to a live WordPress website can be hazardous.
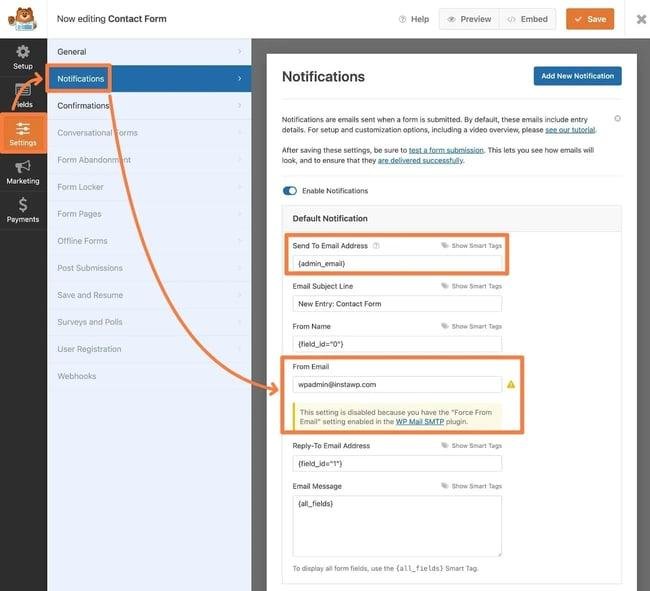
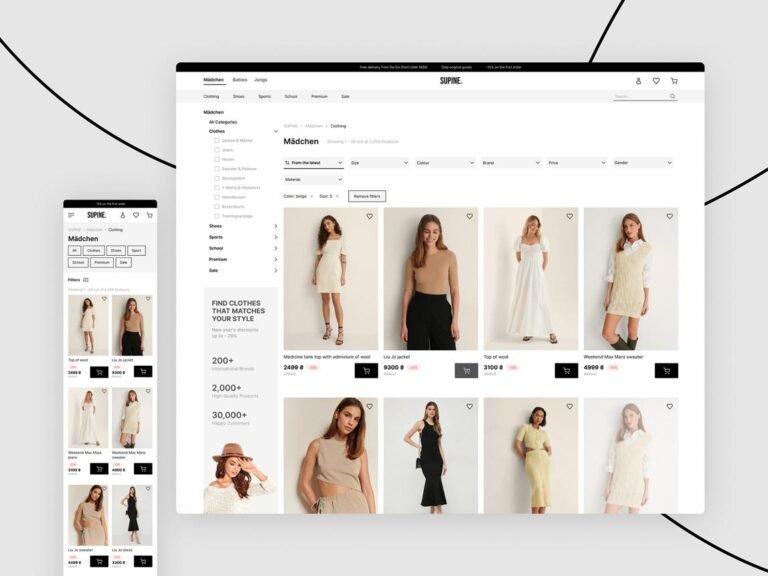
If an update to the plugin changes an important feature, the owner will be notified. The mobile design may be affected by a layout adjustment. A new integration could disrupt an existing contact form.
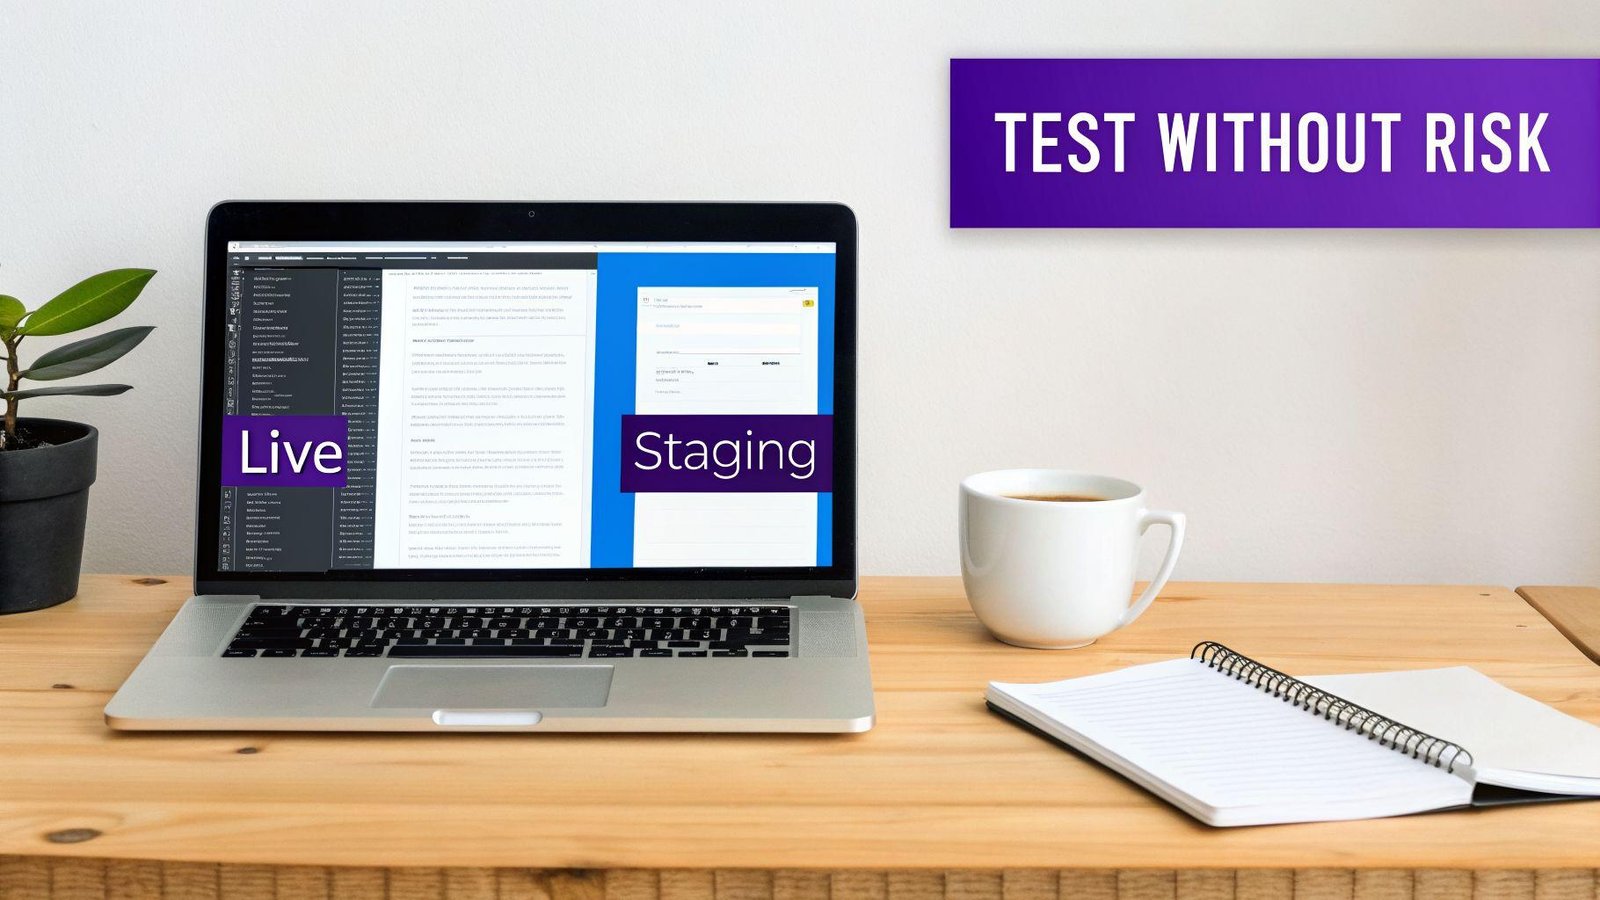
A staging site can provide you with another environment to test changes before you roll them out to your public website.
For companies that rely on their websites for reservations, inquiries or sales, it can be a critical component of a good development process.
What Is a WordPress Staging Site?
A staging site is an external version of your website that you can use to test and develop.
Typically, it will share the same theme, plugin settings, and content structure as the live site.
Modifications in staging will not necessarily impact your public website.
This enables anyone involved in the development and maintenance of a website or website-based app to preview updates before users do.
1. Check Whether Your Hosting Provides Staging
There are a number of WordPress hosting companies that provide staging options for certain packages.
This is dependent on the provider.
A few hosting cockpits enable you to generate a staging copy of just a couple of clicks.
Other options could be using a suitable migration tool or a manually setup Development Environment, depending on your host.
Check staging environment isolation from production site before making a decision on a method.
2. Create a Live Site Backup
Before creating a staging copy or deploying changes, create a verified copy.
Typical WordPress backup echos complete website files and database.
When creating backups, consider using a different storage method to keep them separate from the hosting account.
Be aware of how to restore them.
It is especially necessary if you intend to change the structure of the database or replace the database tables.
3. Protect Your Staging Environment
Staging websites are not production websites!
Lockdown with passwords or other suitable means of access control.
Do not store actual customer details, orders or private form data in an unsecured test environment.
If appropriate, use test data in place of sensitive information.
Also, don’t make your staging site an unintentional “cousin” to your live site.
4. You Can Turn Off Real-World Actions During Testing
A staging copy can also have payment integrations, email notifications, scheduled tasks, and external API connections.
If not managed properly, the features can create real-life challenges.
A staging WooCommerce site shouldn’t, for instance, take real orders or send out order notifications to customers.
Test payment modes and credentials in a sandbox environment, if provided.
Check emails sent, automation workflows, and scheduled jobs prior to testing.
5. Test Changes to Your Website
When the staging environment is ready, you can safely view changes.
Practical things that are done are testing theme updates, customising Elementor layouts, changing or uninstalling plugins and creating new pages.
Review desktop and mobile versions.
Test key forms, navigation menus, WooCommerce and booking systems.
If technical errors occur, check browser console and server logs.
6. Carefully Plan the Deployment
Once you have tested, figure out what changes need to be made to the live site.
There are staging systems that can be deployed with a single click, but that doesn’t imply that all deployments are safe.
Changes to the database must be carefully managed on current websites.
For instance, if there are other customers making orders while you’re using your live WooCommerce store, but you change the live database to an older version of the staging database, you may lose those orders.
If required, deploy plan databases and files separately.
7. Observe if the Live Website Is Working After Deployment
Successful staging tests are not a substitute for final production testing!
Upon deployment, check the homepage, important service pages, contact forms, and checkout/booking processes.
Clearing of relevant caches as necessary.
Verify that public indexing settings, SEO settings, and analytics are correct.
In case of an unexpected event, stick to your documented rollback procedure, do not make changes.