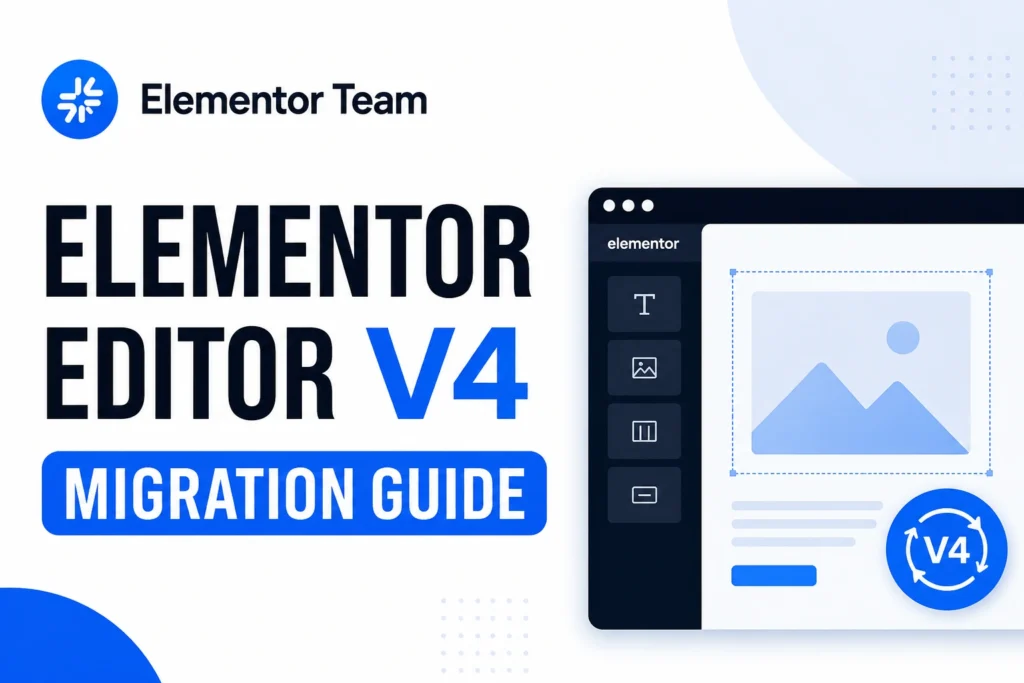
Elementor’s move to Editor V4 and its new atomic engine is the biggest architectural shift the page builder has made in years. If you manage client sites — or even just your own portfolio — the question isn’t whether you’ll migrate, it’s when, and what breaks along the way.
This guide walks through a real migration checklist: what changes under the hood, which elements are most likely to cause headaches, and how to test a site before you ever touch production.
Why Editor V4 Is Different (Not Just an Update)
Previous Elementor updates were additive — new widgets, new settings, new panels. Editor V4 changes the foundation:
- Atomic CSS structure. Instead of large, per-widget style blocks, V4 generates smaller, reusable CSS classes. This is faster and lighter, but it means custom CSS overrides written against old class names can silently stop working.
- Size Variables and system-wide design tokens. Spacing, sizing, and color values can now be defined once and reused everywhere — great for consistency, but it changes how manually-set pixel values interact with global styles.
- Flexible layout tools built on Containers. If a site still uses old-style Sections and Columns instead of Containers, this is the first thing to address before V4 features become fully available.
- Angie, the AI assistant, is now woven into snippet creation, custom widget generation, and layout suggestions — which is powerful, but any AI-generated custom code should be treated like third-party code: reviewed, sandboxed, and version-controlled before deployment.
None of this means V4 is risky to adopt. It means migration is a project, not a toggle.
Pre-Migration Checklist
Before enabling any V4 features on a live site, work through this list.
1. Audit for legacy Sections and Columns
Containers have been the recommended layout method for a while, but many older sites still have Section/Column structures mixed in. Run through your Theme Builder templates (header, footer, single post, archive, product pages) and flag anything still using the legacy layout system — these are the pages most likely to shift or break visually after migration.
2. Inventory custom CSS and custom code
Search your site for:
- Custom CSS targeting Elementor’s default class names (e.g.,
.elementor-widget-container,.elementor-column) - Custom JS that queries specific Elementor DOM structures
- Third-party addon widgets (Happy Addons, Essential Addons, JetEngine, PowerPack, etc.) that inject their own markup
Atomic CSS changes class naming and nesting patterns, so anything hard-coded against the old structure needs to be re-tested, not assumed to still work.
3. Check third-party addon compatibility
Before migrating, confirm your installed addon plugins have published V4 compatibility notes. Addon ecosystems typically lag slightly behind core updates — migrating before your key plugins confirm support is the single most common cause of broken layouts.
4. Back up and clone to staging
This one is non-negotiable for client sites. Clone the live site, enable V4 features only on staging, and give yourself a full visual pass before touching production.
5. Re-test Popups, Forms, and dynamic content
Popup triggers, Form widget conditional logic, and dynamic content tags (ACF fields, custom post type queries) are built on top of the layout engine. After migration, manually trigger every popup condition and submit every form variant rather than assuming “it looks fine” means “it works fine.”
Migration Order That Minimizes Risk
Rather than flipping every V4 feature at once, migrate in this order:
- Convert legacy Sections/Columns to Containers first, on staging, and visually confirm every page.
- Enable atomic CSS / Optimized Markup and check custom CSS overrides.
- Migrate Theme Builder templates (header, footer, archive, single post) — these affect every page site-wide, so test them before rolling out anything else.
- Re-point any custom widgets or Angie-generated snippets to confirm they render correctly under the new markup.
- Only then migrate design tokens/Size Variables, replacing manually-set spacing values with global variables where it makes sense — this is a design-consistency upgrade, not a technical requirement, so it can wait until the site is stable.
Common Breakage Points (and Fixes)
| Symptom | Likely Cause | Fix |
|---|---|---|
| Spacing looks slightly different after migration | Manual pixel values conflicting with new Size Variables | Reset affected widgets to use global spacing tokens |
| Custom CSS no longer applies | Atomic CSS renamed/restructured classes | Re-target selectors using current class names, or move overrides to the widget’s native Style tab |
| Addon widget renders broken or unstyled | Addon plugin not yet updated for V4 | Pin the addon to its last stable version until an update ships, or migrate that page last |
| Popup or form stops triggering | Conditional logic tied to old DOM structure | Re-test and rebuild the trigger condition in the V4 editor |
| Custom widget/snippet throws console errors | Code written against pre-V4 markup assumptions | Regenerate or manually adjust the snippet, test in a sandbox before republishing |
Client Communication: What to Say Before You Migrate
If you manage sites for clients, set expectations up front:
- Migration will happen on a staging environment first — nothing changes on the live site until it’s approved.
- There may be a short QA window where minor spacing/style adjustments are made.
- Any custom-built widgets or automations will be re-tested, not just carried over.
This avoids the awkward conversation that happens when a routine update surfaces as a “the website looks different” support ticket.
The Bottom Line
Editor V4 is a genuine performance and workflow upgrade — lighter CSS, more consistent design systems, and AI-assisted building through Angie. But because it changes the underlying markup and styling architecture rather than just adding features, it rewards a methodical migration over a one-click upgrade. Audit first, migrate on staging, and roll out in the order above, and most sites move over with no visible disruption at all.